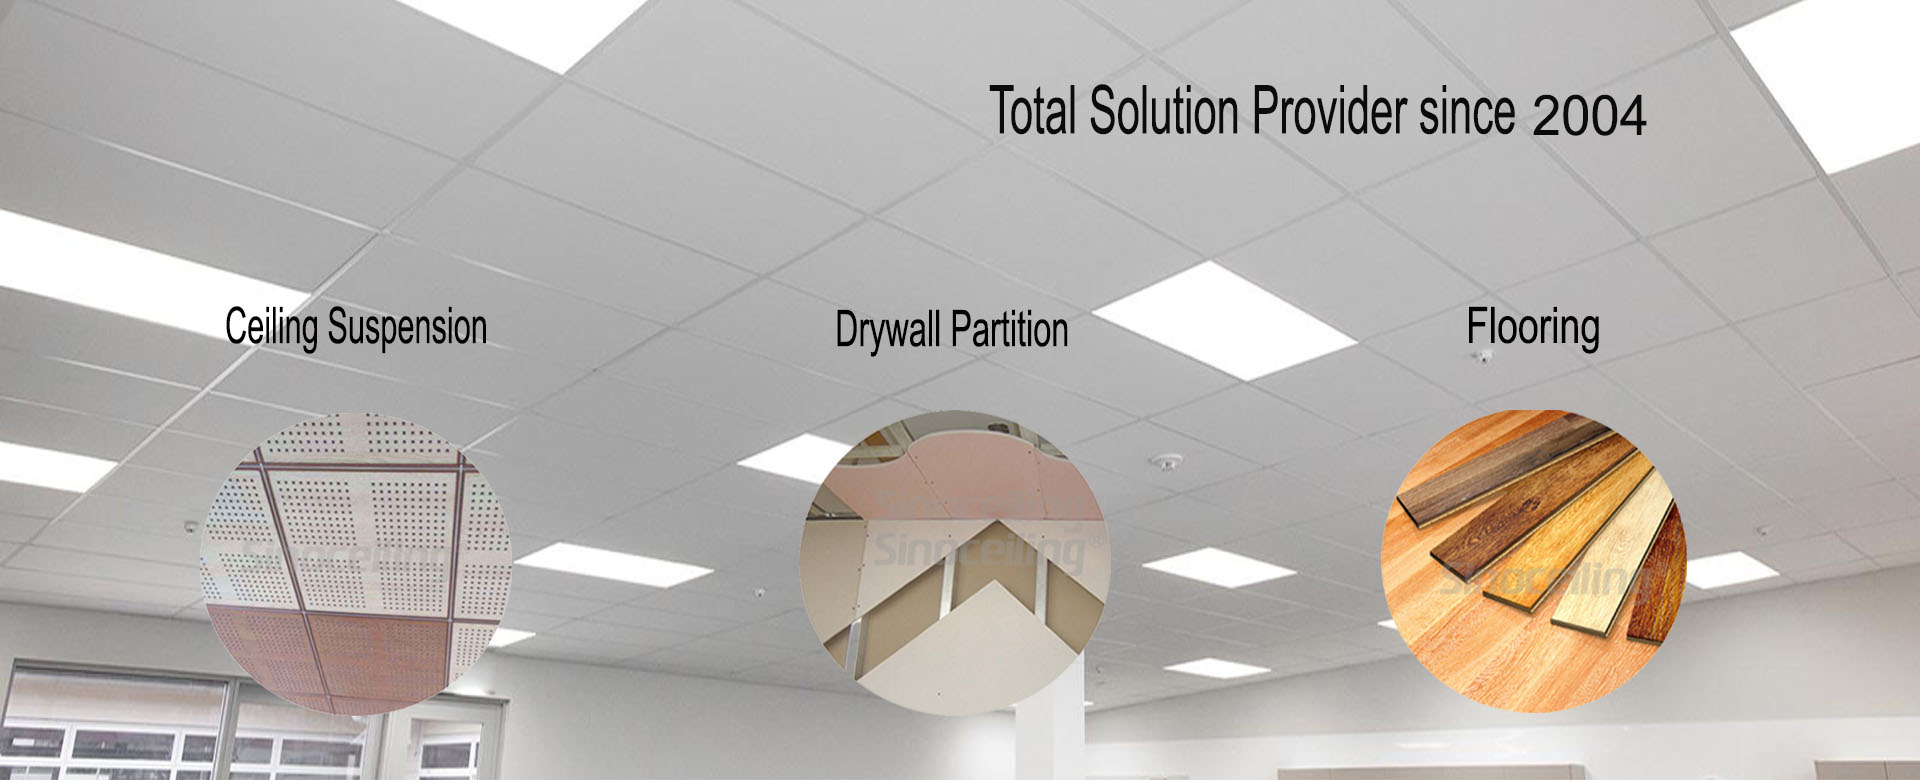

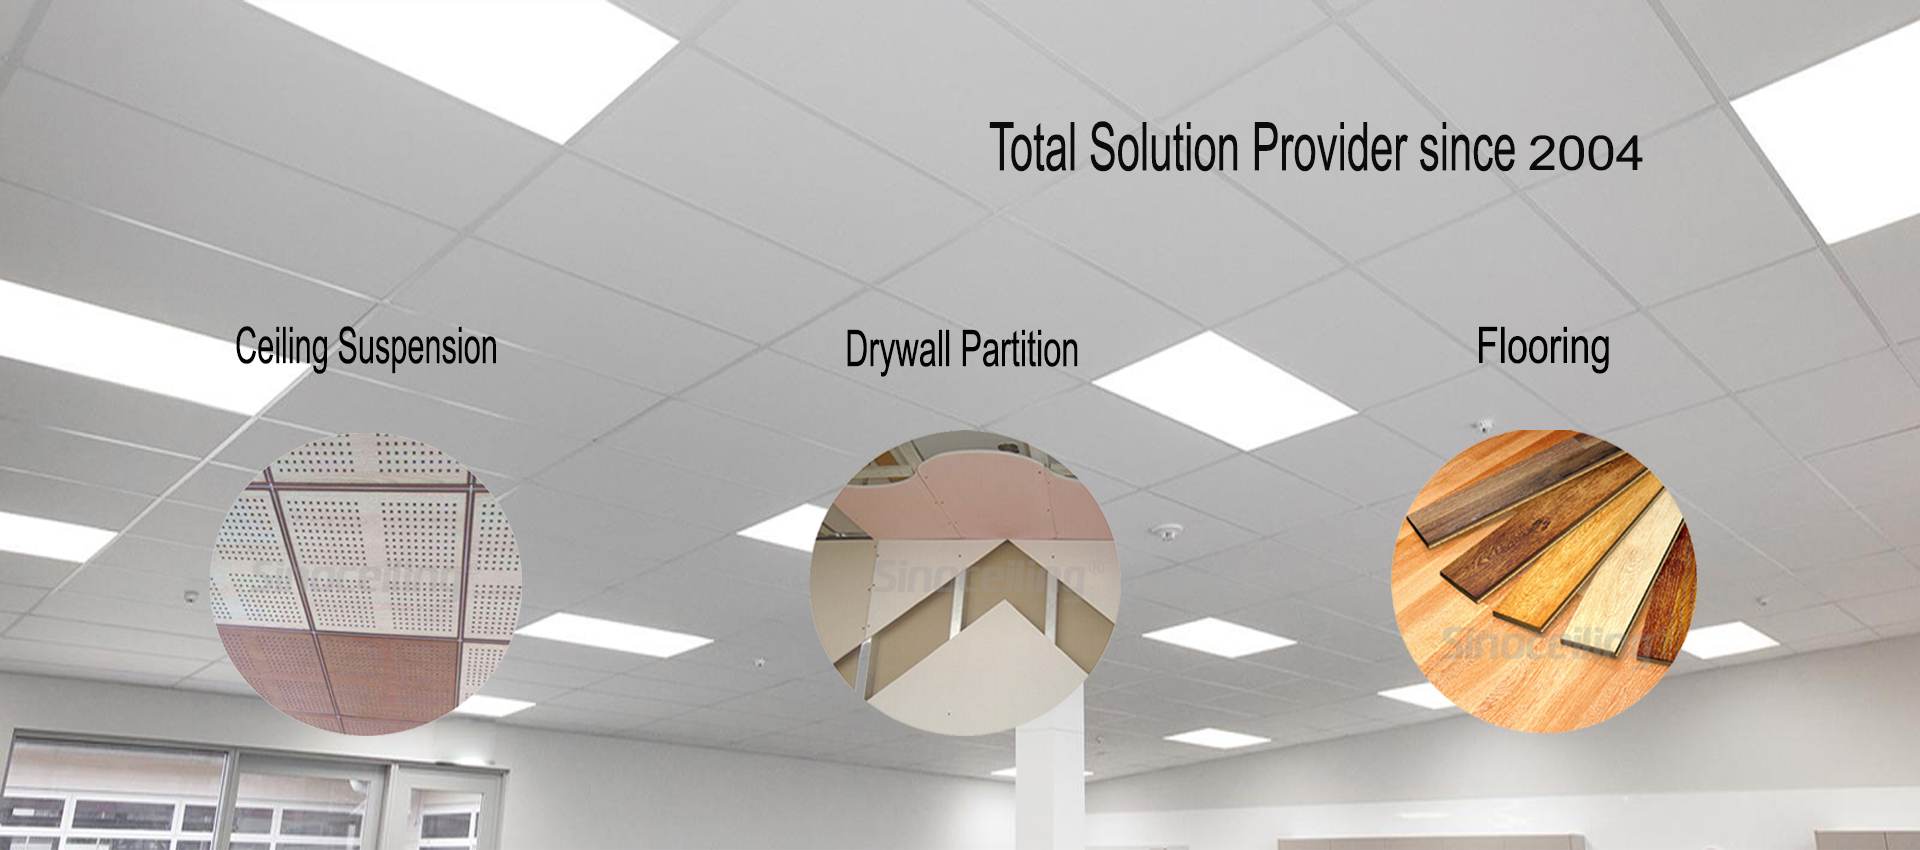

Installing metal ceiling tile offers a durable and modern approach to interior ceiling design and applications. Proper installation benefits like fire safety, sound insulation, and low maintenance.
1. Mark the Layout and Install Suspension System
Begin by marking the perimeter of the ceiling using a level and chalk line. Install L-shaped wall angles along the marked perimeter. Attach suspension wires from the ceiling joists and fix main runners in parallel lines. This grid forms the framework for placing the ceiling tiles or panels.
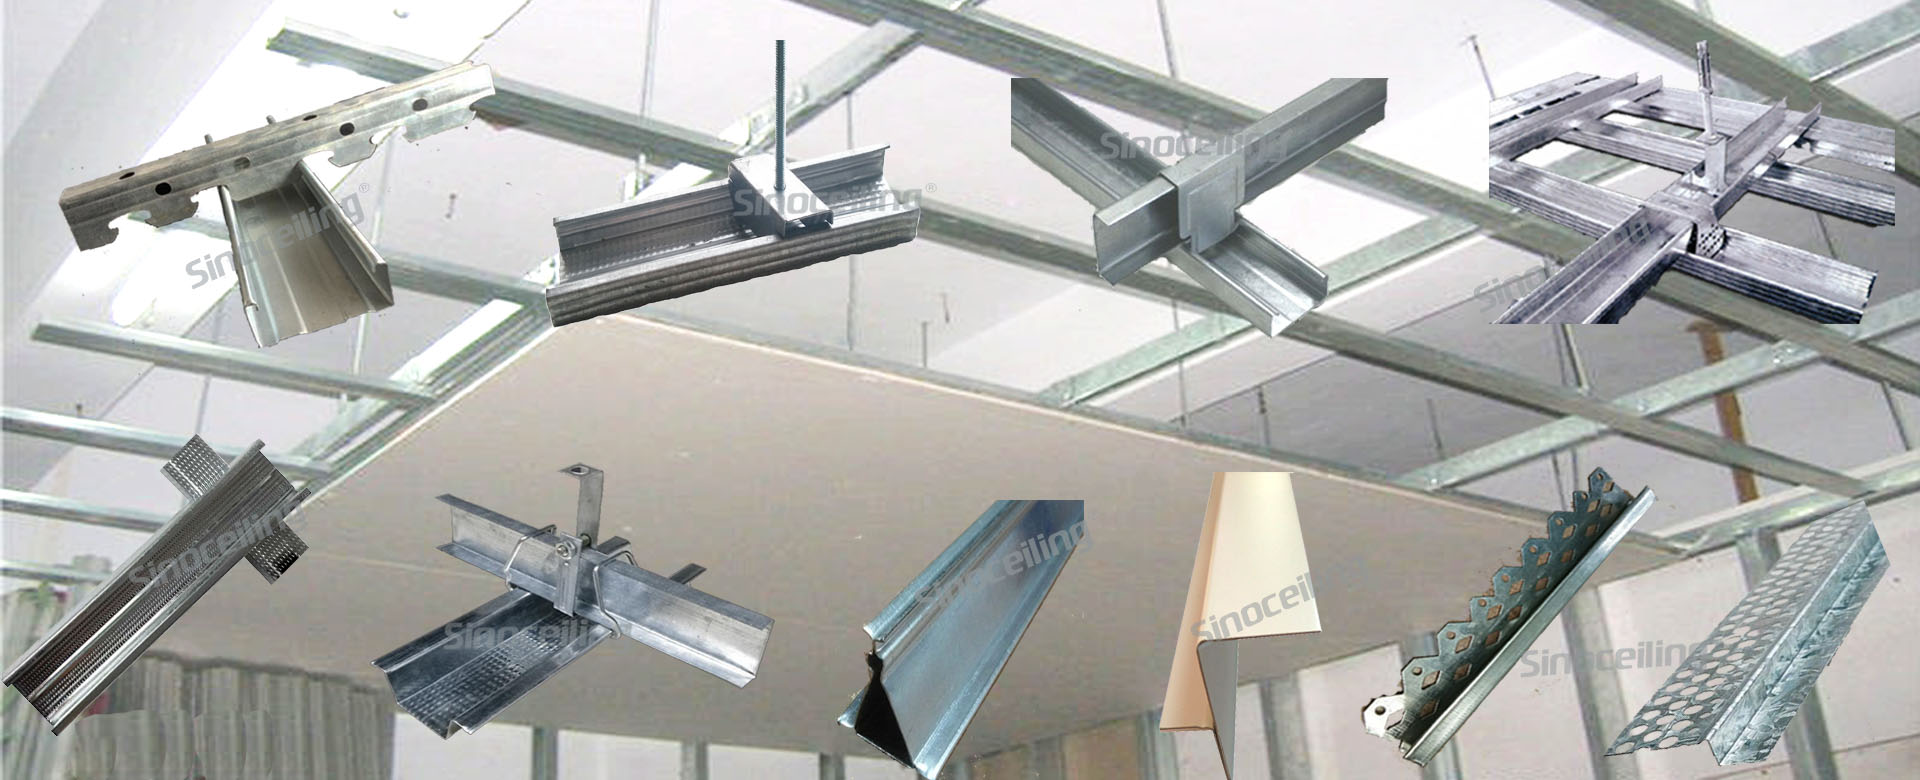
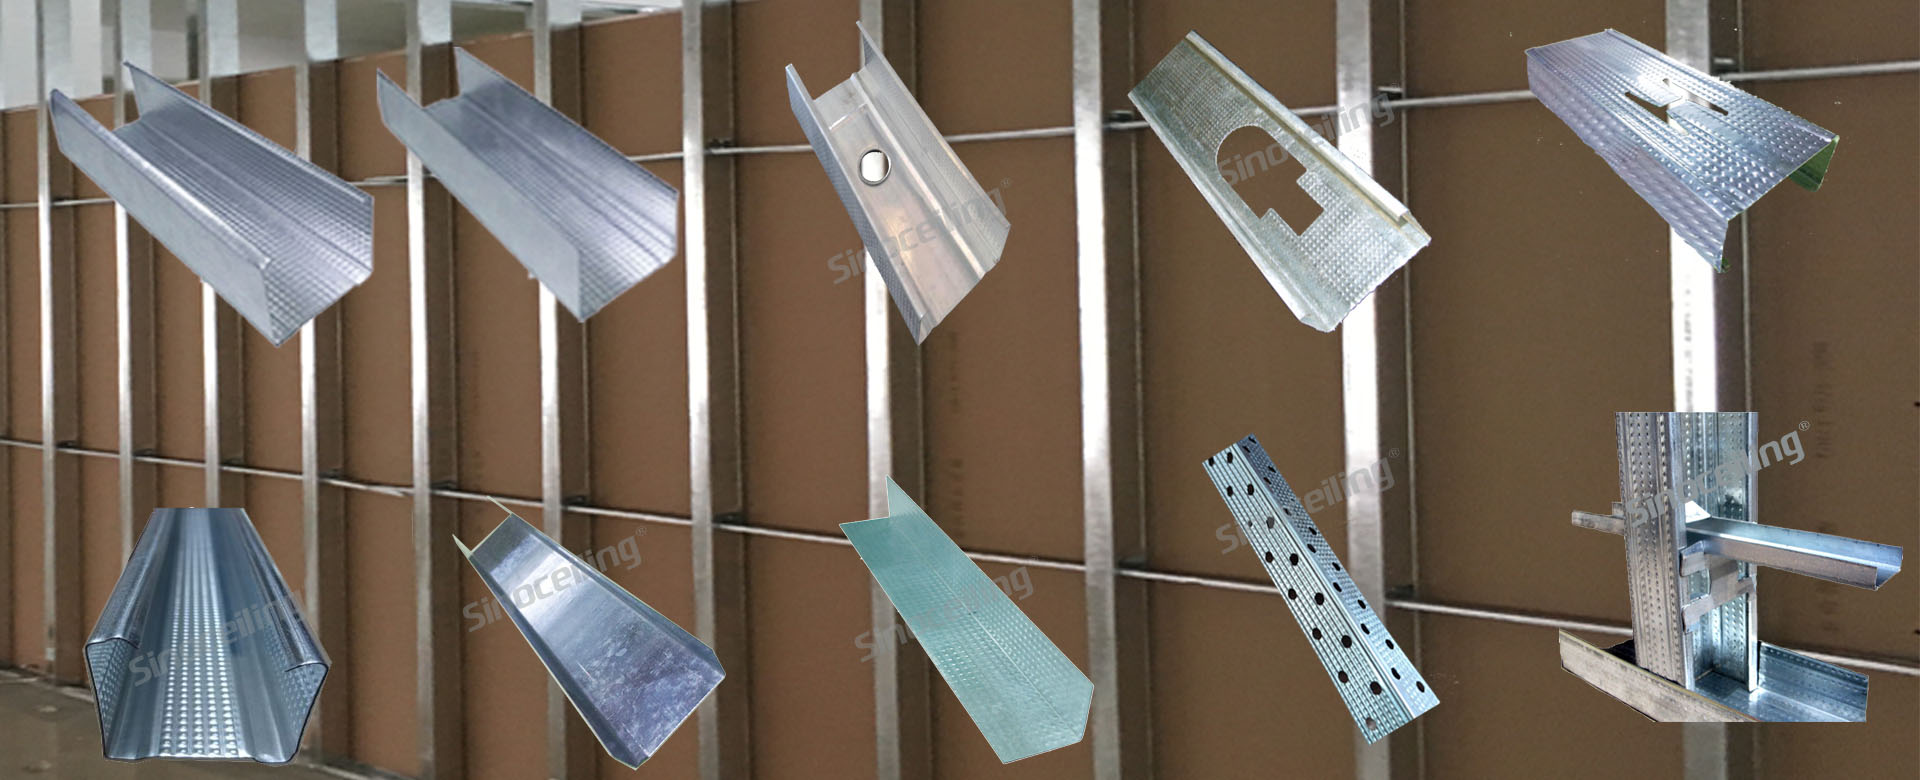
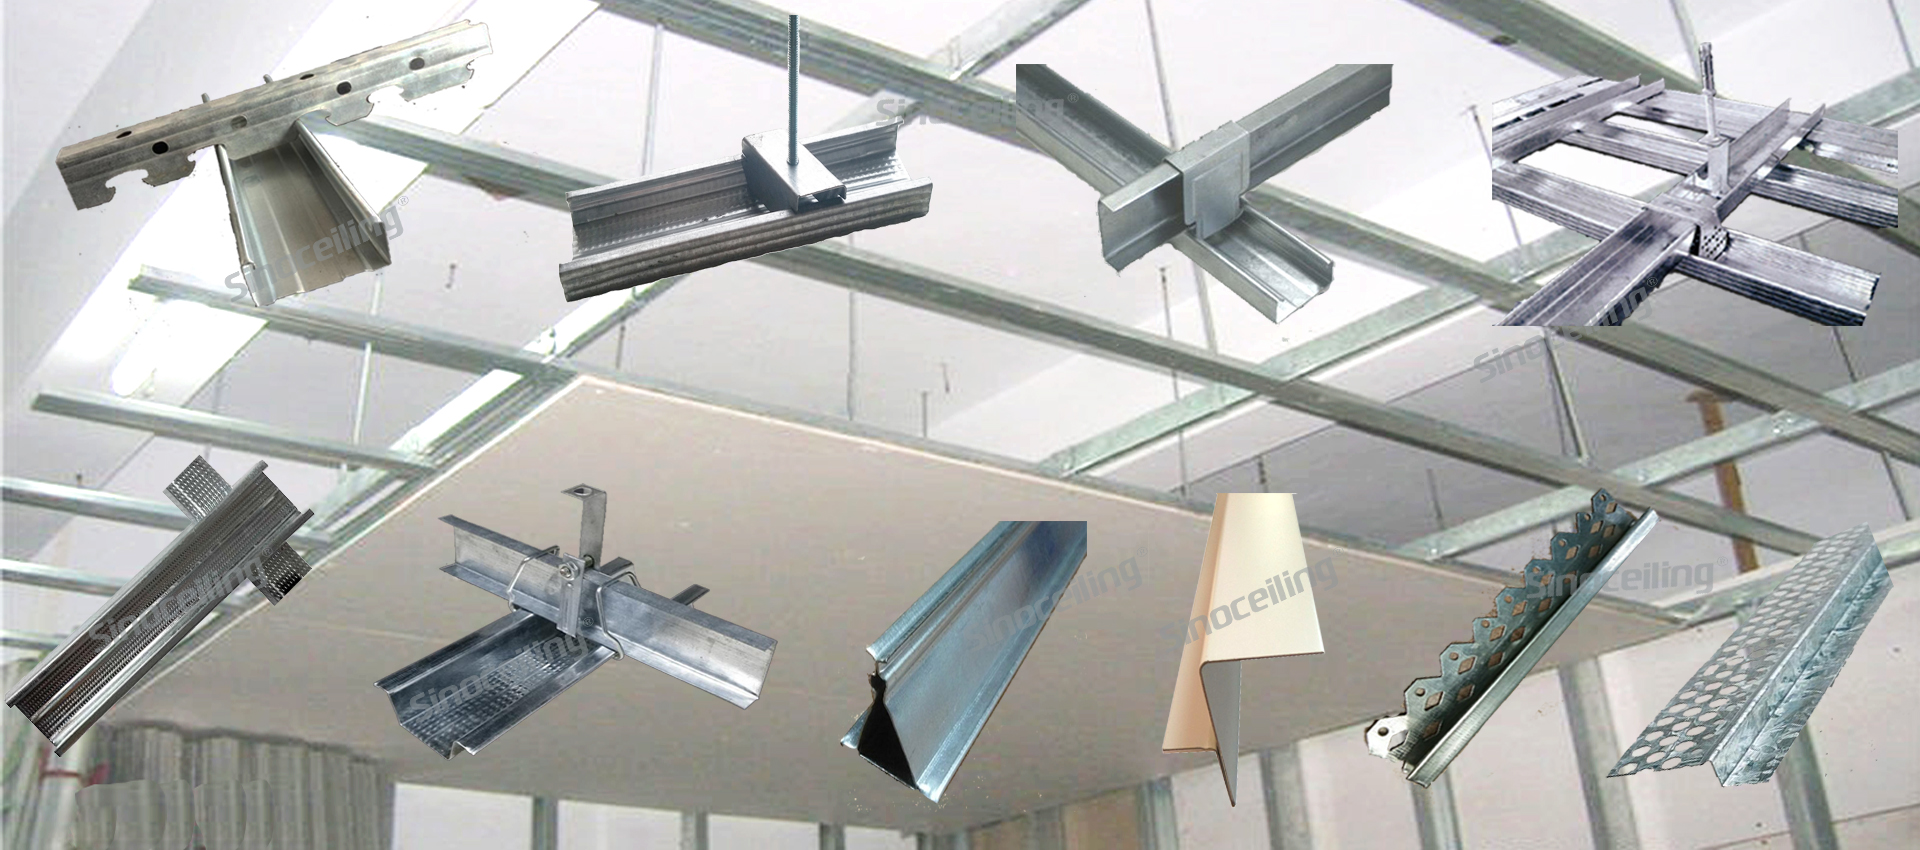
2. Install triangle carrier and main channel
Position the triangle carrier according to your measurements, making sure they are level. Fix main channel on carrier by hanger clip This structural grid is the foundation for supporting aluminum ceiling panels or tiles.
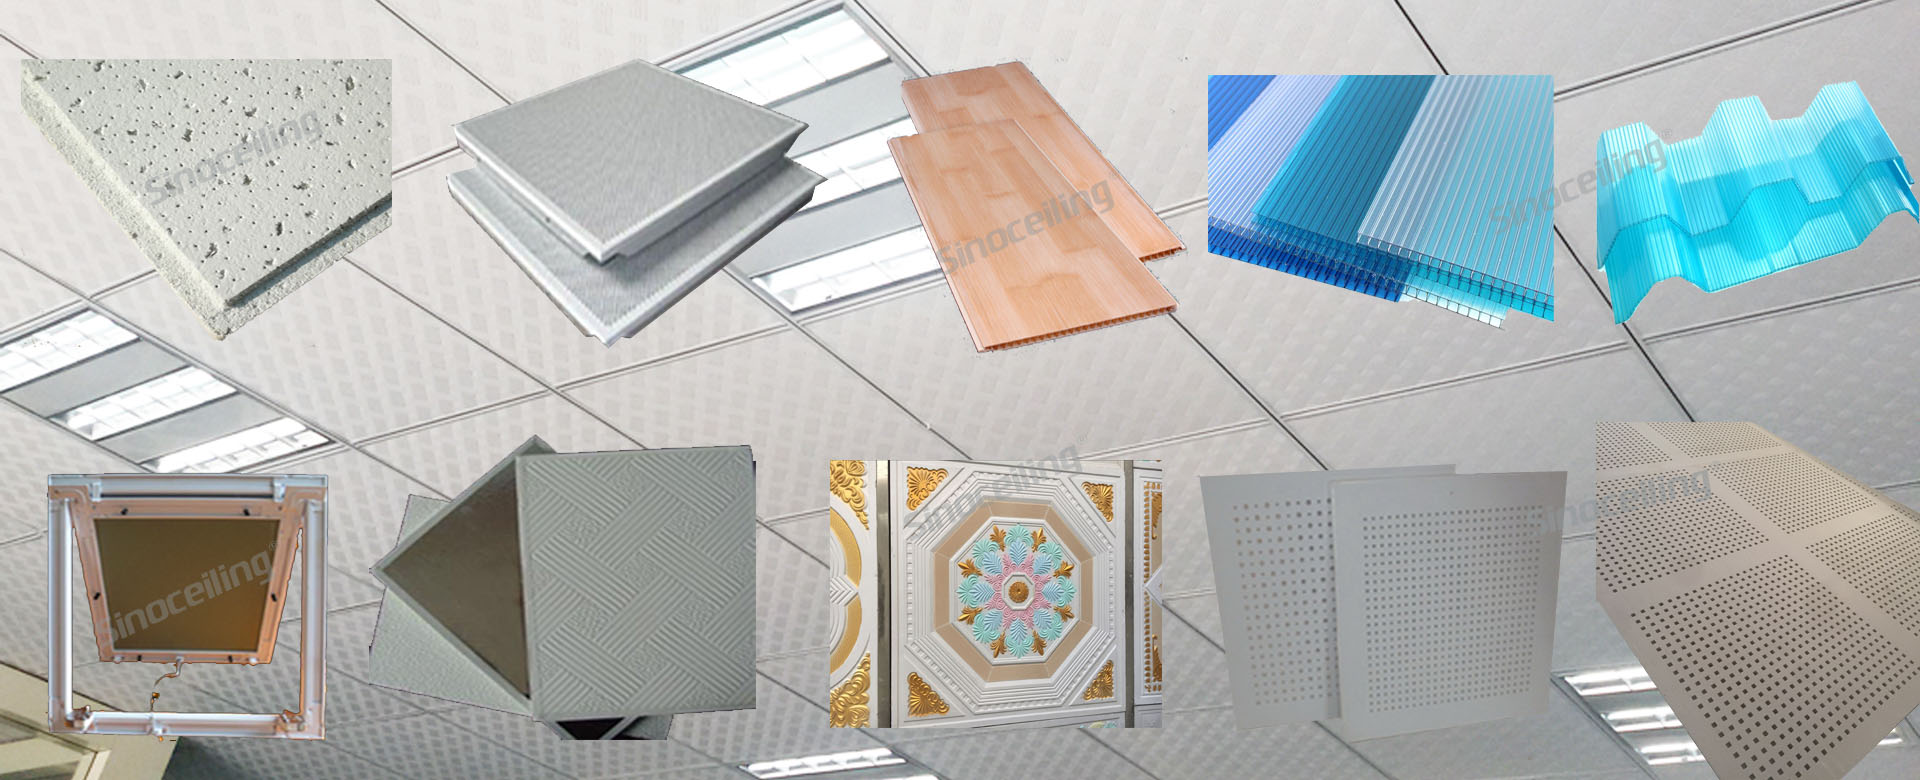
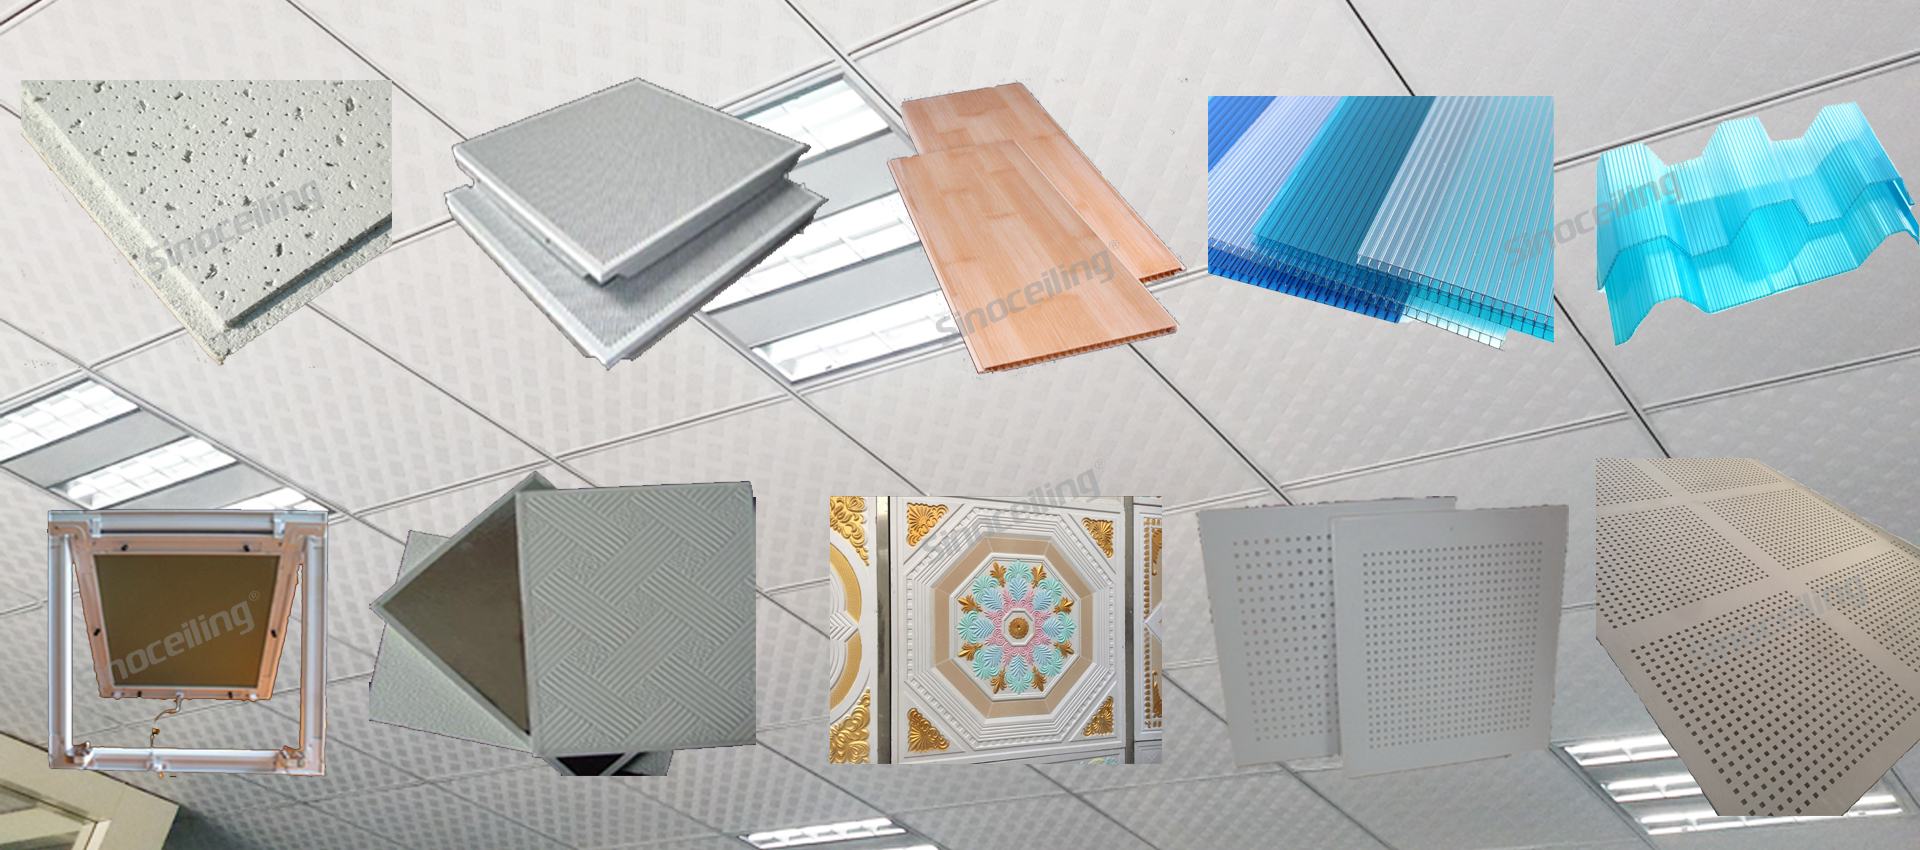
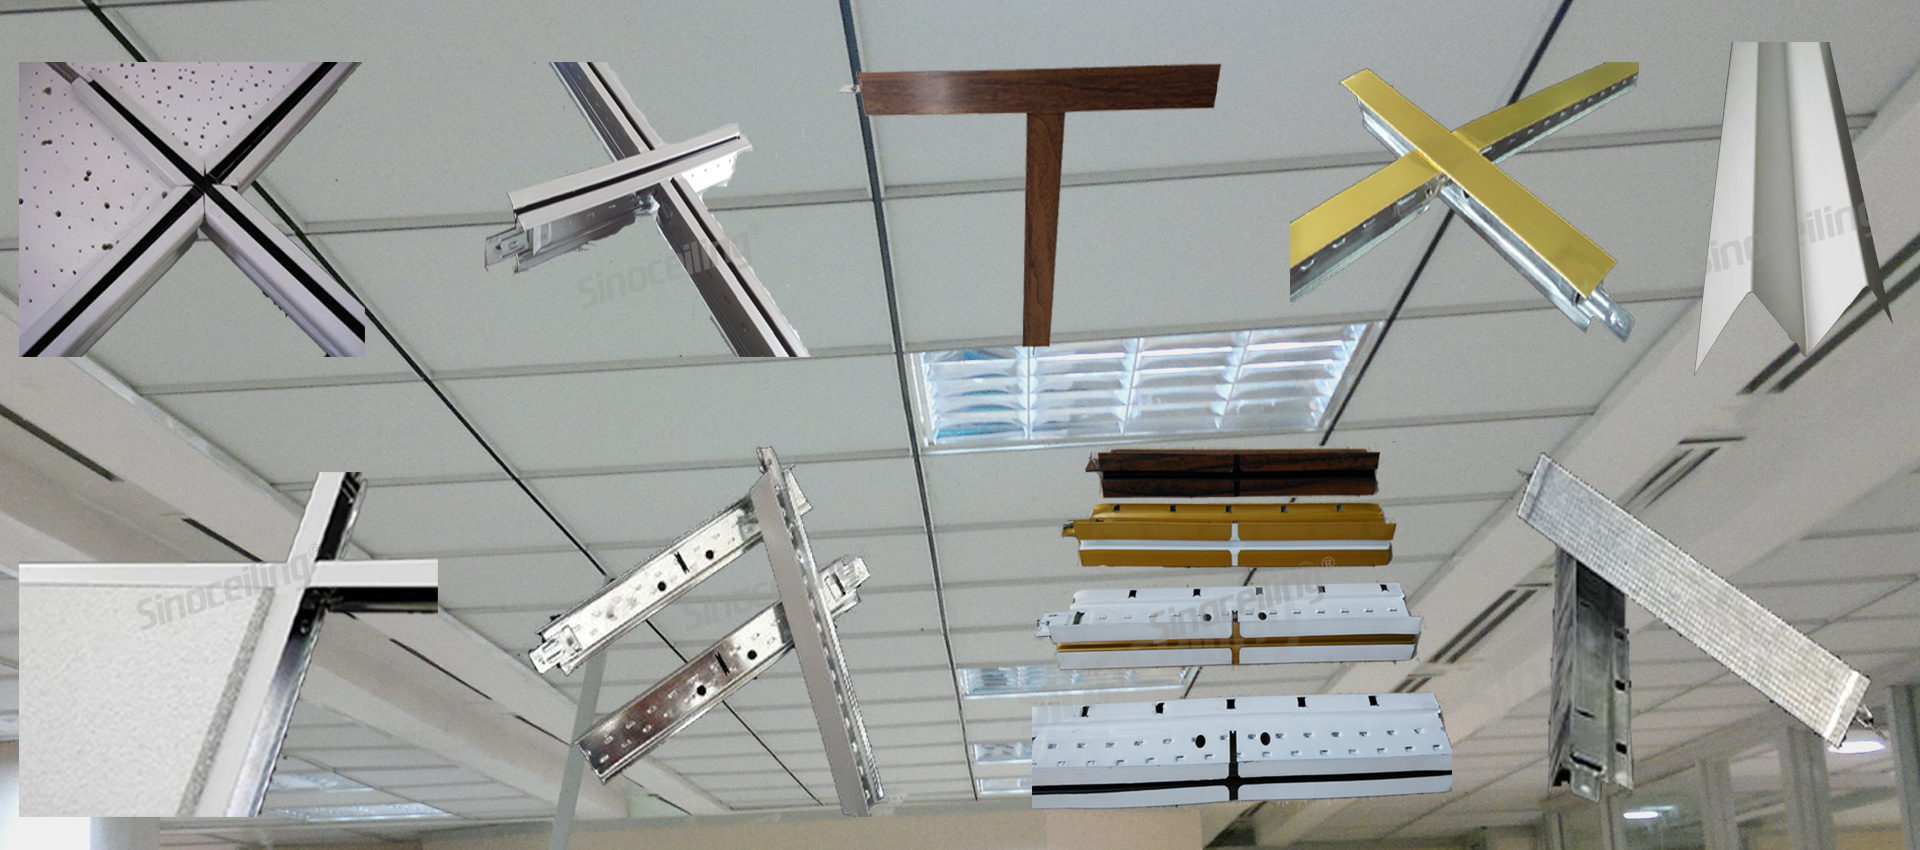
3. Place and Secure the Ceiling Tiles
Once the clip system is complete, insert the aluminum ceiling tiles. press each tile firmly into place until it clicks. Cut tiles where necessary to fit around fixtures or borders using tin snips or a cutting tool.
4. Check Alignment and Make Adjustments
After all panels are installed, check for proper alignment, spacing, and overall finish. Make any adjustments needed to ensure tiles sit flush within the grid. Confirm that the system allows access to overhead utilities, and make note of any panels designed for future maintenance.
")
CONTACT
+86-571-85397237
sales@sinoceiling.com
B-9#,Jintong INT'L Mansion, No.113 Huayuangang Rd, Hangzhou, China